.png)
The purpose of this feature is to manage the branches and their related settings through the following functionalities:
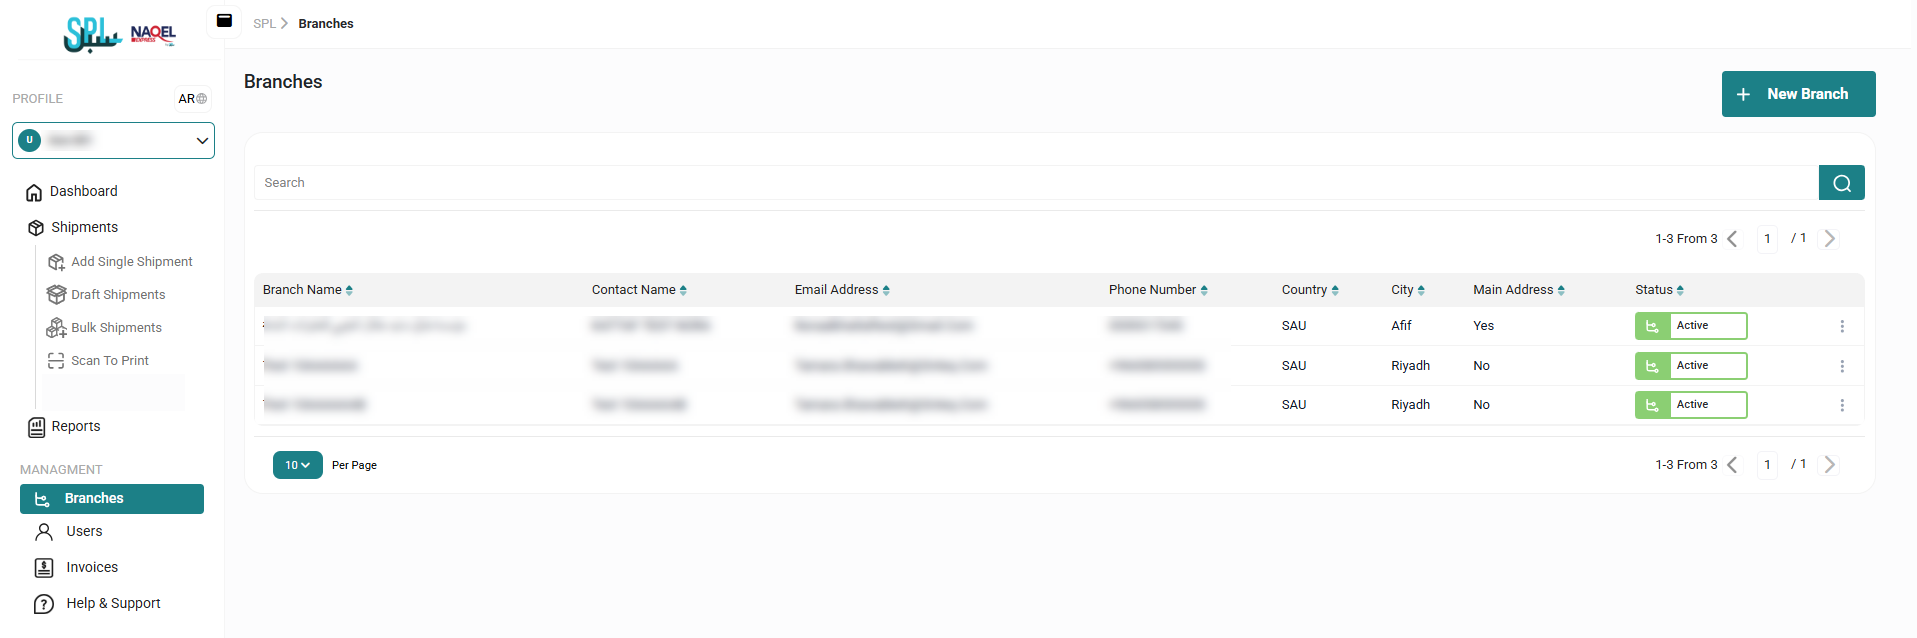
7.1 View Branch
The admin can view the defined branches in the system by navigating to the ‘Branches’ screen by choosing the Branches Module from the left navigation panel as follows:
-
New Branch: the admin can add new branch by referring to the New Branch section
-
Search: the admin can search for the users by typing branch name in the search filter field.
-
Per Page: the admin can select the number of items to show on each page.
-
Actions: By clicking on this button, the user can view the details of the branch by referring to the View Branch Details section, Modify branch information by referring to the Edit Branch section.
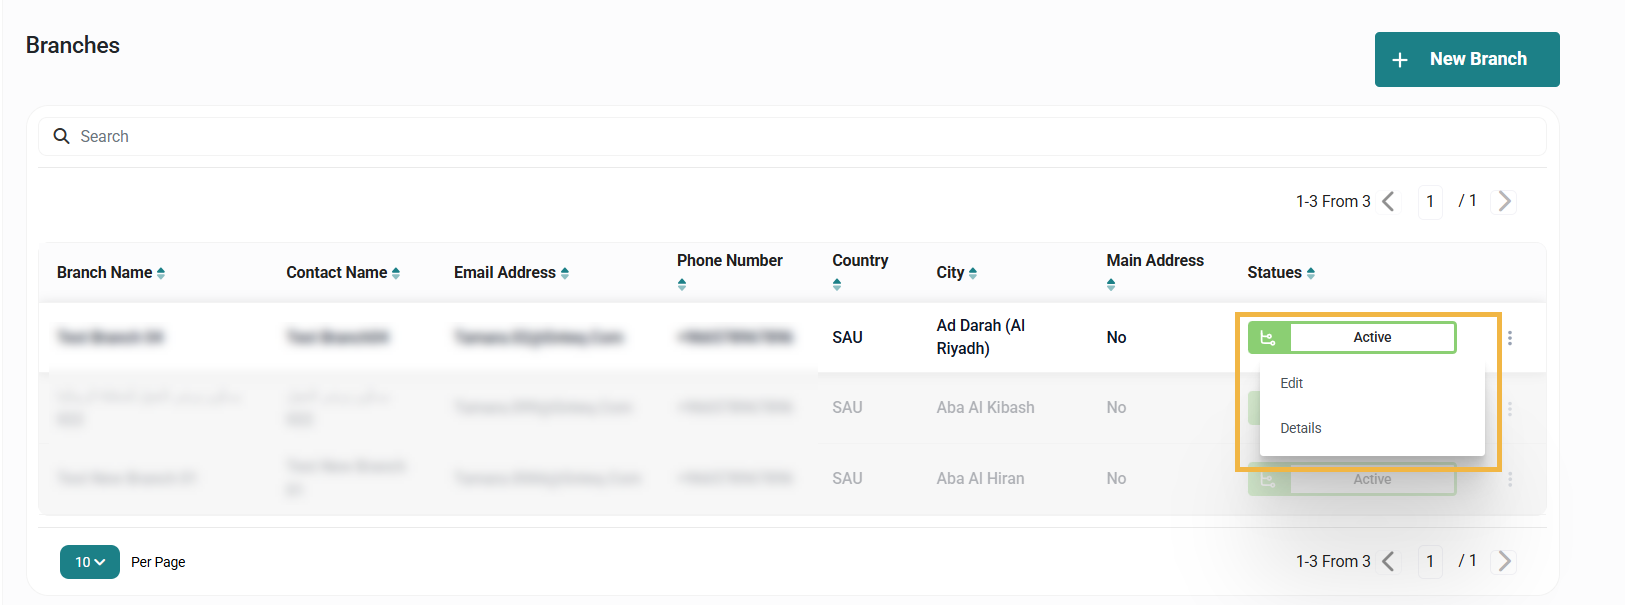
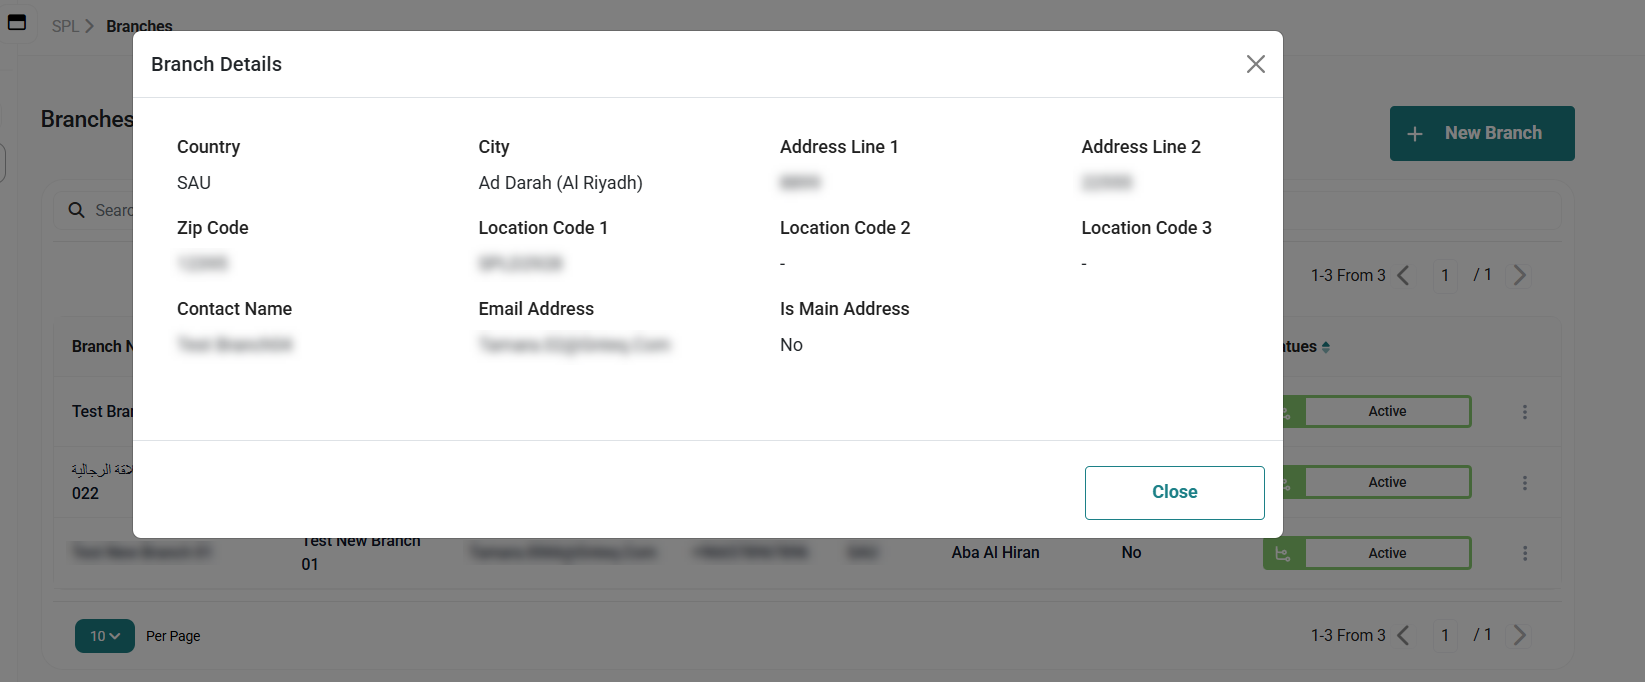
7.1.1 View Branch Details
The admin view the branch details already defined on the system by navigating to the ‘Branches’ screen via the Branches Module and clicking on Details from Actions as follows:
7.1.2 Edit Branch
The admin can edit an existing branch by clicking on Edit from Actions by navigating to the “Branches” screen via the Branches Module as follows:
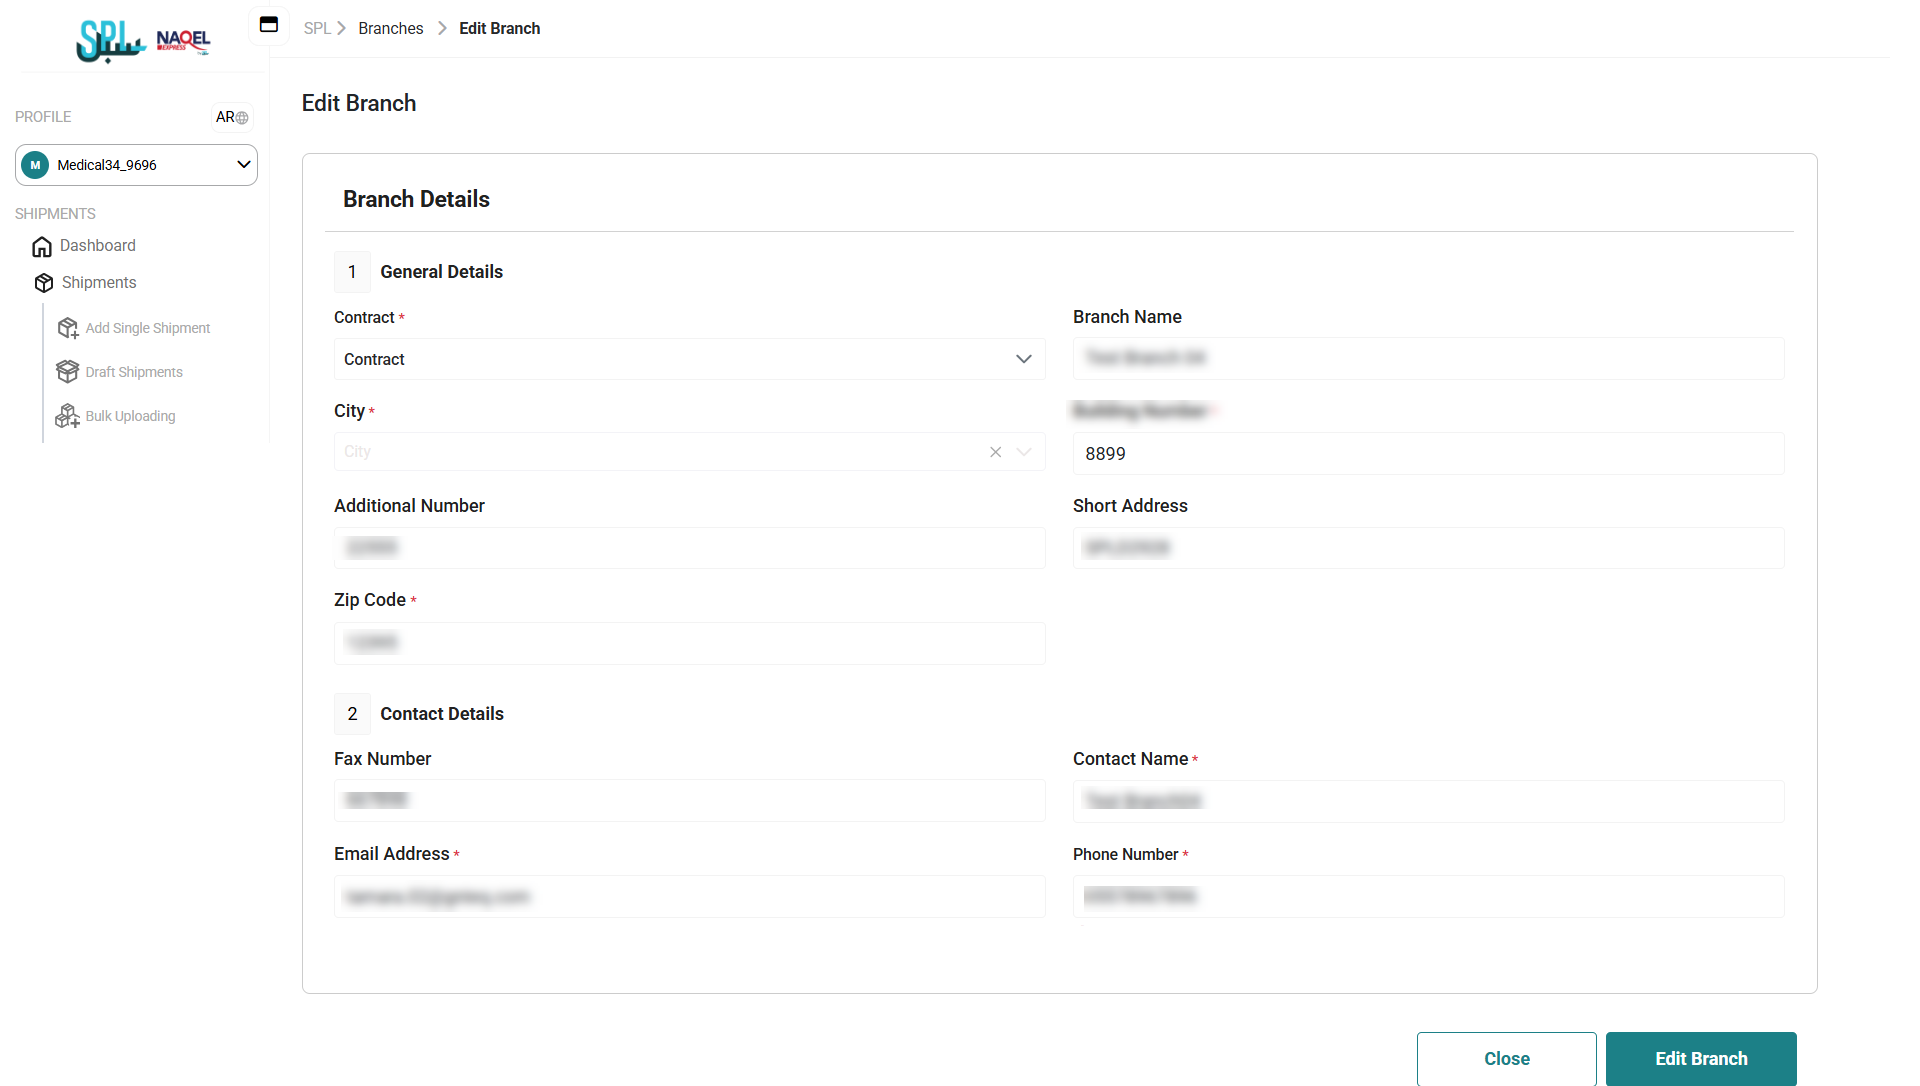
By clicking on Edit Branch the system update information successfully.
7.2 Add Branch
The admin can add a new branch by navigating to the ‘Branches’ screen via the Branches Module and then clicking on the Add New Branch button as follows:
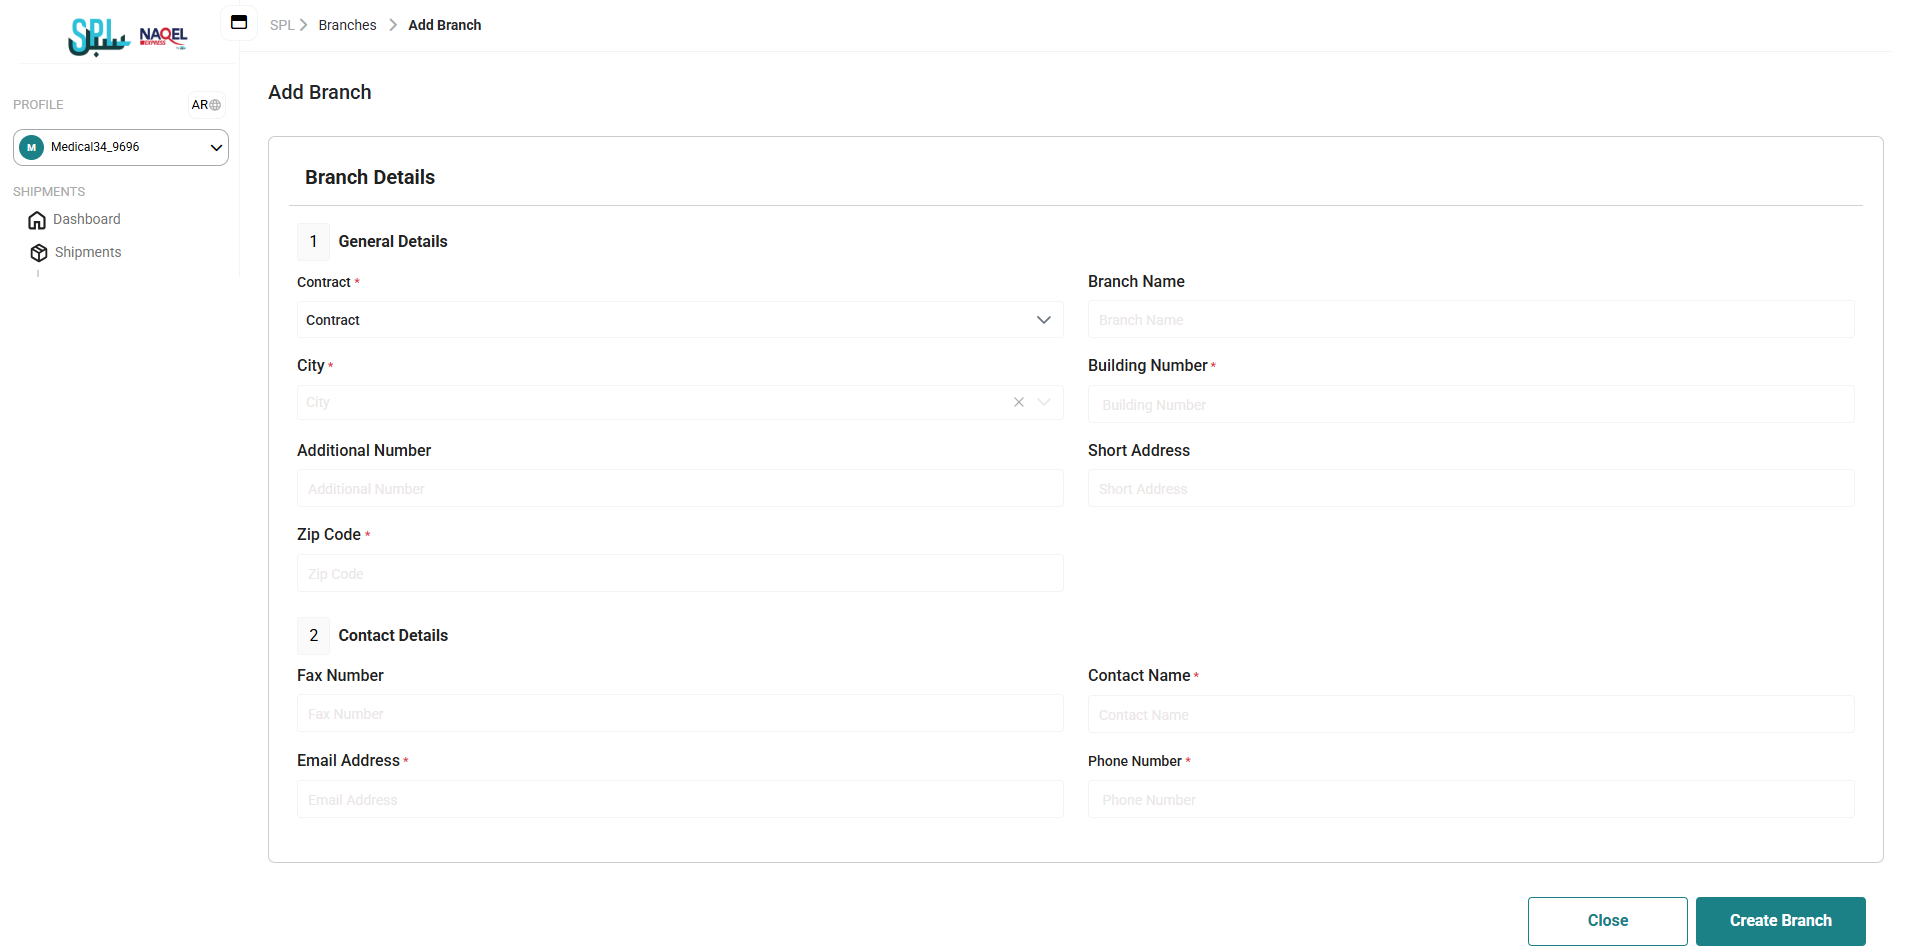
-
Contract: this field represents the contract name and type related to this branch.
-
Branch Name: this field represents the name of the branch that is defined.
-
City: this field represents the name of the city in which the branch is located.
-
Budling Number: this field represents the building number of the branch.
-
Additional Number: this field represents another branch number.
-
Short Address: this field represents a short title for the branch.
-
Zip Code: this field represents the zip code of the city where the branch is located.
-
Fax Number: this field represents the fax number of the branch.
-
Contact Name: this field represents the full person name of this branch.
-
Email Address: this field represents the e-mail of the person contact name.
-
Phone Number: this field represents the mobile number of the person contact name.
By clicking on the Create branch button, the system will successfully add the branch.